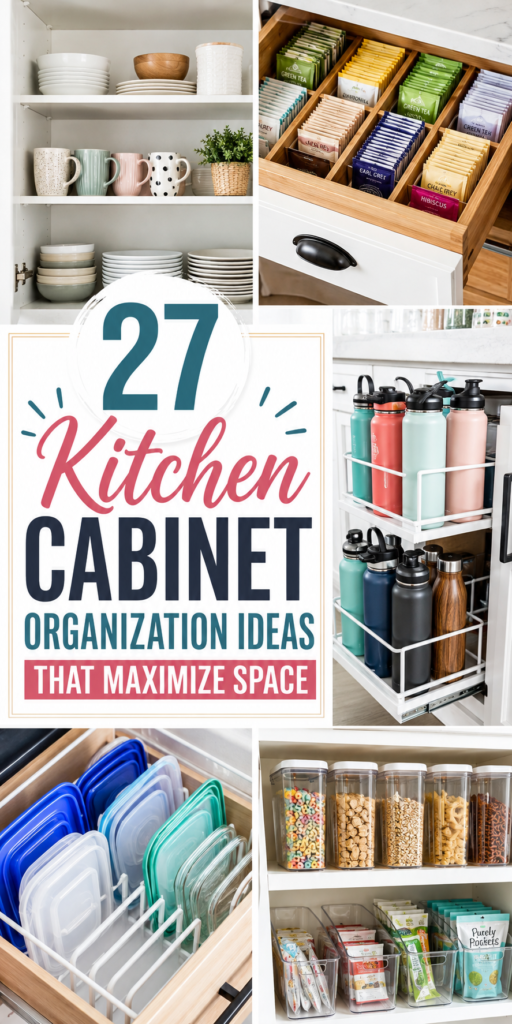
27 Kitchen Cabinet Organization Ideas That Maximize Space

Kitchen cabinets have a way of becoming cluttered even when the rest of the kitchen looks perfectly tidy. One shelf starts collecting random food packets, pot lids slide behind pans, water bottles fall over, and suddenly finding one spice means pulling out half the cabinet.
The good news is that effective kitchen cabinet organization ideas don’t require a full kitchen renovation. Most cabinets become much easier to use when you divide large spaces into smaller zones, make better use of vertical space, and choose organizers that match what you actually store.
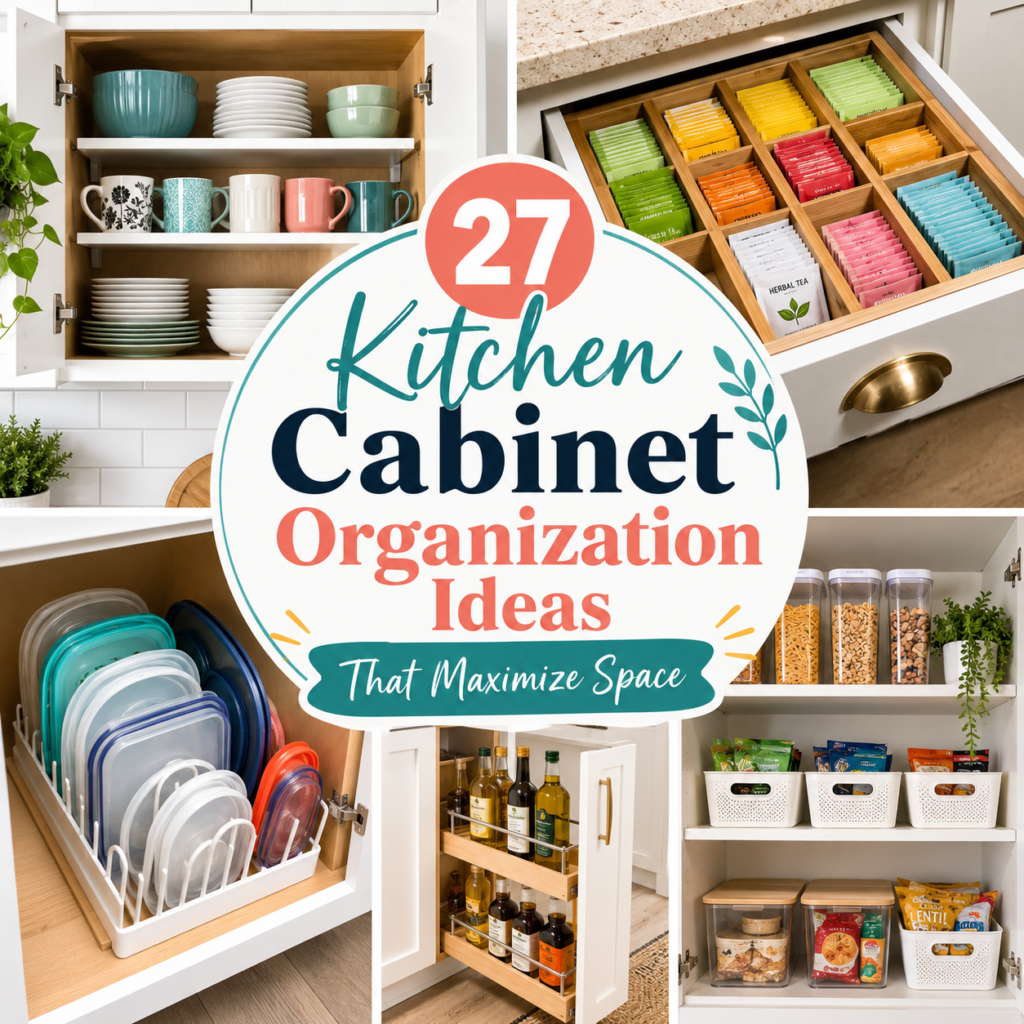
The reference inspiration for this guide includes 27 solutions ranging from shelf risers and clear containers to Lazy Susans, pull-out storage, cabinet-door organizers, bakeware dividers, mug hooks, and drawer inserts.
Below, I’ve reorganized those concepts into a practical system you can adapt to almost any kitchen.
Before You Organize Your Kitchen Cabinets
Before buying containers, pull everything out of one cabinet at a time.
This gives you a chance to see what you actually own instead of designing storage around items you rarely use.
Start by creating basic categories:
- Everyday dishes
- Glassware
- Baking supplies
- Pots and pans
- Food storage containers
- Spices
- Snacks
- Coffee and tea
- Cleaning products
- Water bottles
- Cutting boards
- Bakeware
Then decide where each category makes the most sense.
Frequently used items should generally stay in easy-to-reach cabinets, while seasonal serving pieces and occasional appliances can occupy higher shelves.
Organization Tip: Measure your cabinet width, depth, shelf clearance, door clearance, and organizer height before ordering anything.
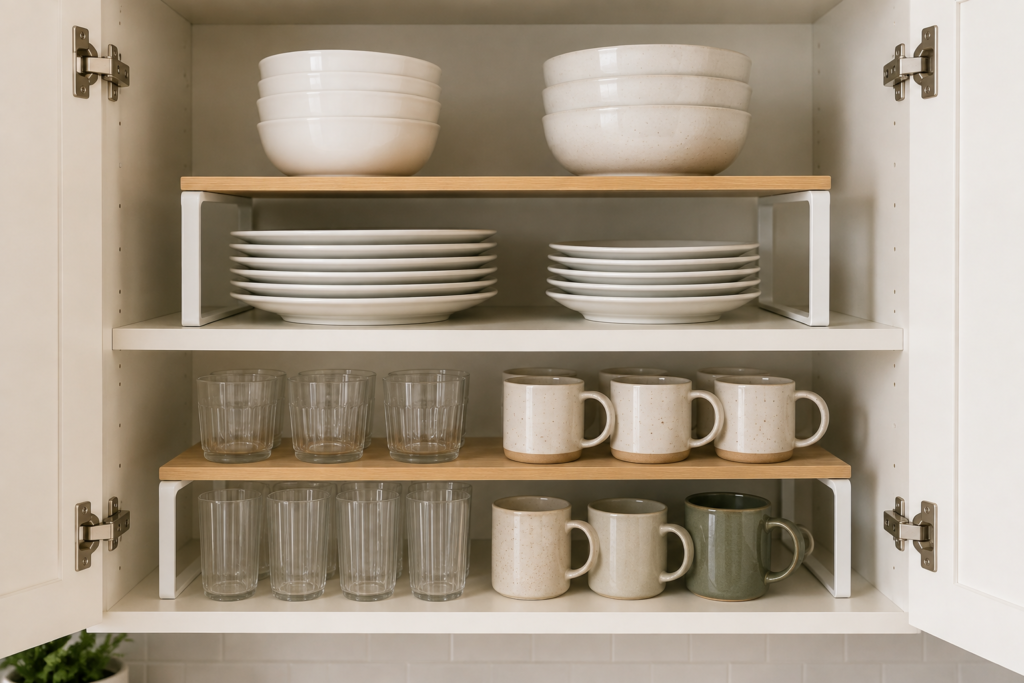
1. Use Shelf Risers to Create a Second Level
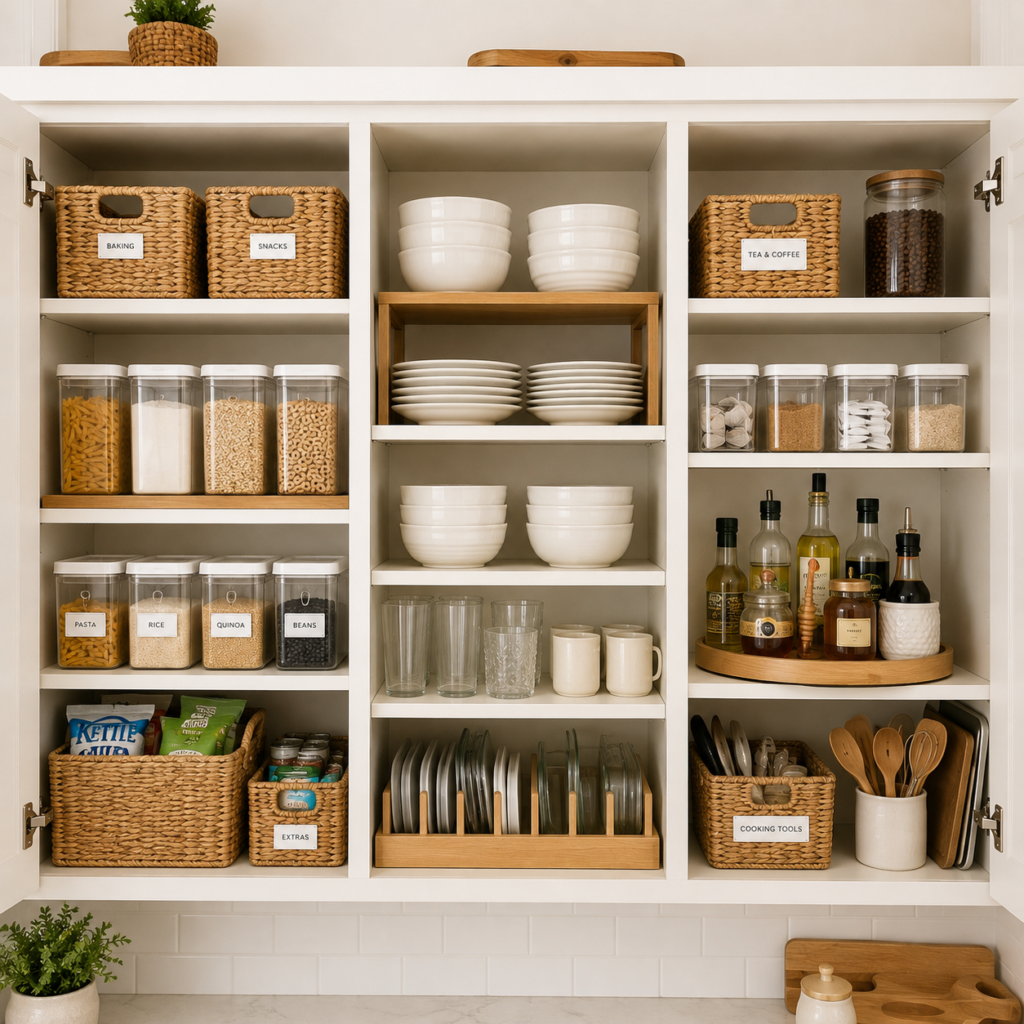
One of the easiest ways to waste cabinet space is to leave a large gap above short dishes, bowls, or mugs.
Shelf risers solve that problem by creating another usable level without permanently changing the cabinet.
Use one level for plates and another for bowls, or separate everyday mugs from glasses.
The source article highlights shelf risers specifically as a way to create additional surfaces inside cabinets.
Choose risers that leave enough space to remove items without having to tilt or rearrange everything around them.
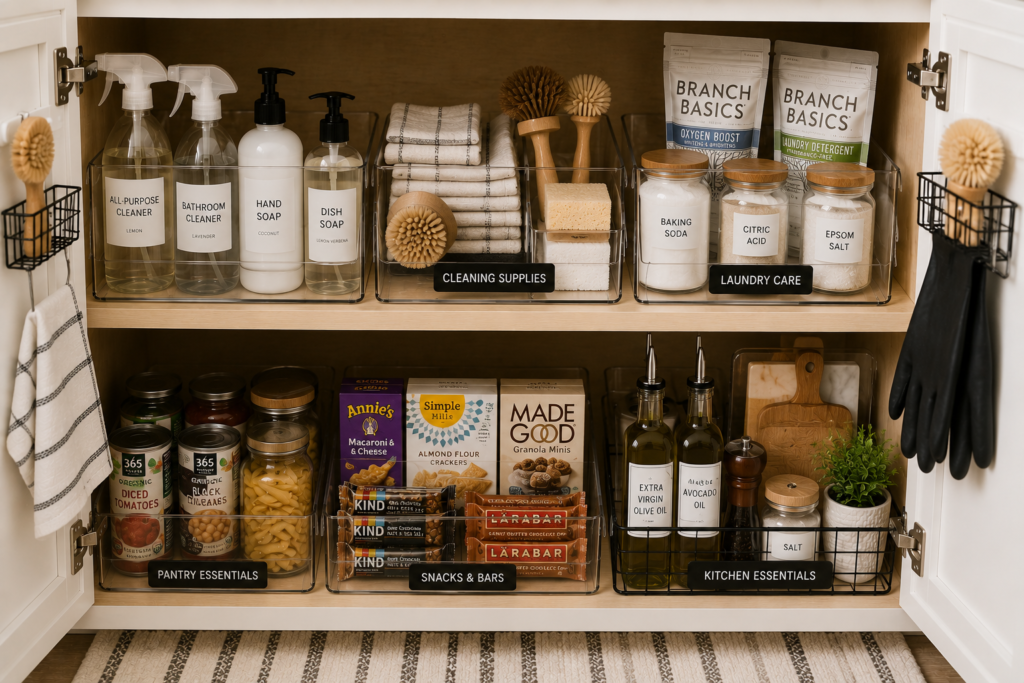
2. Group Pantry Staples in Clear Storage Bins
Clear bins can turn a cabinet full of unrelated packages into simple categories.
Create bins for things such as:
- Breakfast
- Baking
- Pasta
- Snacks
- Sauces
- Lunch supplies
Instead of moving five boxes to find one packet at the back, you can pull out the entire category.
The original inspiration also recommends clear containers for both dry goods and packaged foods.
Small-Space Tip: Choose bins with straight sides whenever possible. Heavily tapered containers can waste valuable shelf width.
3. Add Tiered Shelves for Cans and Small Jars
A deep cabinet makes short containers difficult to see.
Acrylic or other tiered shelves raise the rows in the back, creating a stadium-style layout.
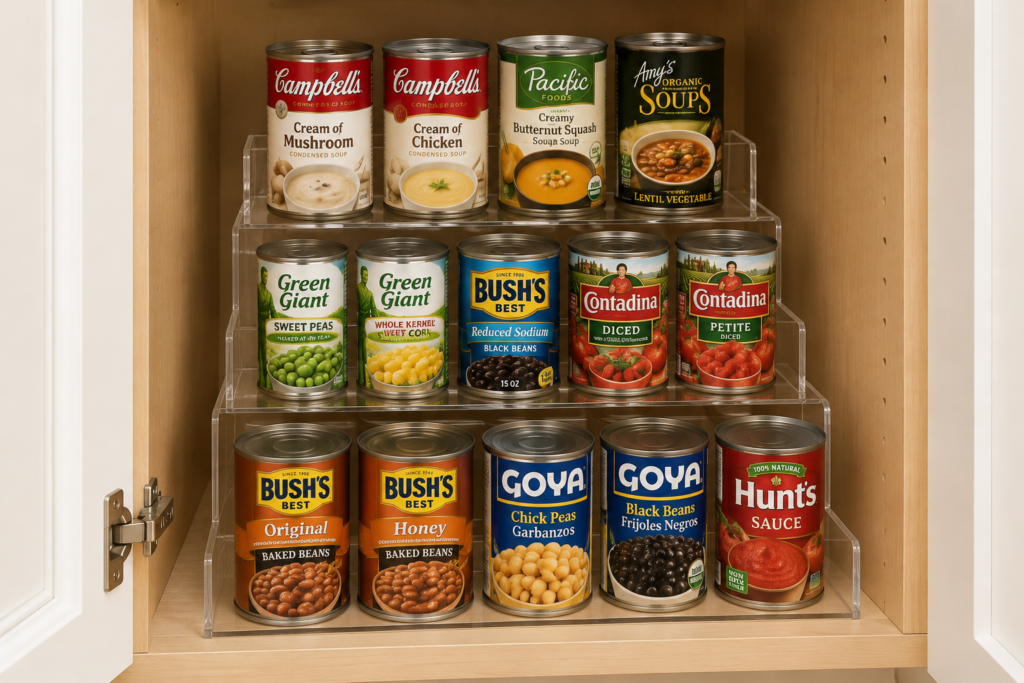
This works especially well for:
- Canned foods
- Spices
- Small condiments
- Baking extracts
- Supplement bottles
The source suggests acrylic step shelving because it adds storage levels while keeping cabinet contents visible.
Don’t automatically fill every tier. Keeping a little breathing room makes it easier to see what needs restocking.
4. Store Pots and Pans Vertically
Instead of stacking every skillet and pan on top of one another, use a dedicated pot-and-pan organizer.
Vertical slots allow you to slide out one piece without lifting an entire stack.
The reference article uses pan racks specifically to separate cookware and make pans easier to retrieve.
This setup is particularly useful if you regularly use several different frying pans.
Keep the heaviest cookware toward the bottom whenever your organizer design allows it.
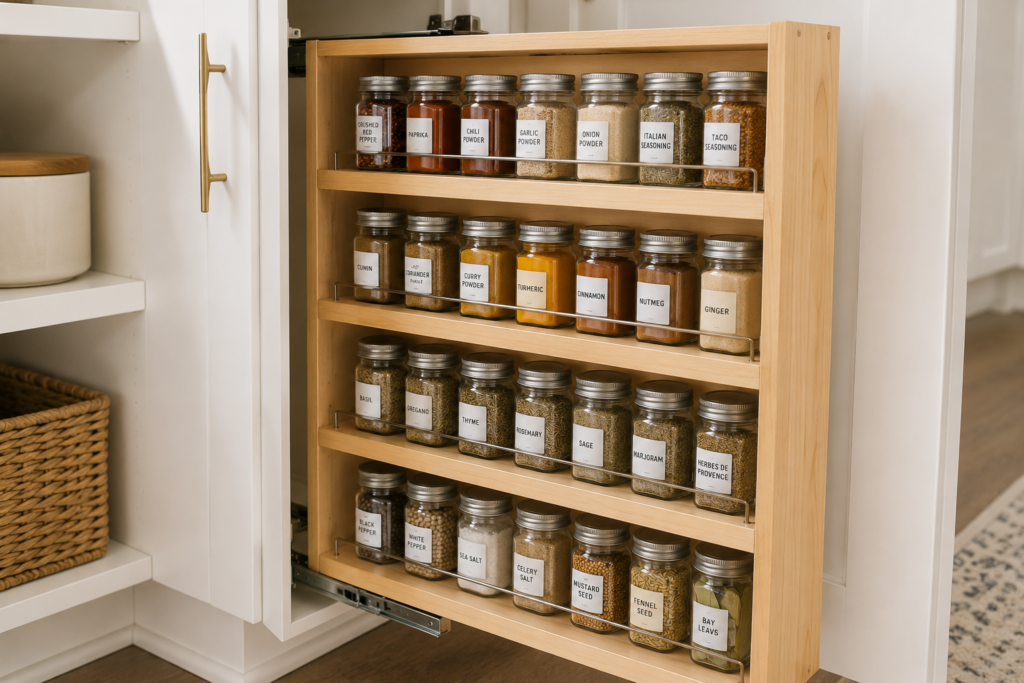
5. Create a Pull-Out Spice Zone
Spices disappear quickly when they’re lined up several rows deep.
A pull-out spice organizer brings the bottles toward you instead.
The source highlights a cabinet-mounted pull-out spice rack as a way to access seasonings from both the front and sides.
Before buying one, measure the narrowest point inside the cabinet, not just the opening.
Sort spices by the system that feels natural to you—alphabetically, by cuisine, or simply by how frequently you use them.
6. Use Baskets to Hide Visual Clutter
Not everything needs to be decanted into matching containers.
Woven or rattan baskets work particularly well for things you want grouped but don’t necessarily want on display.
Think:
- Extra tea towels
- Lunch bags
- Backup paper products
- Baking accessories
- Reusable shopping bags
The source uses rattan baskets as both practical storage and a decorative organizing element.
Add a simple label if the contents aren’t immediately obvious.
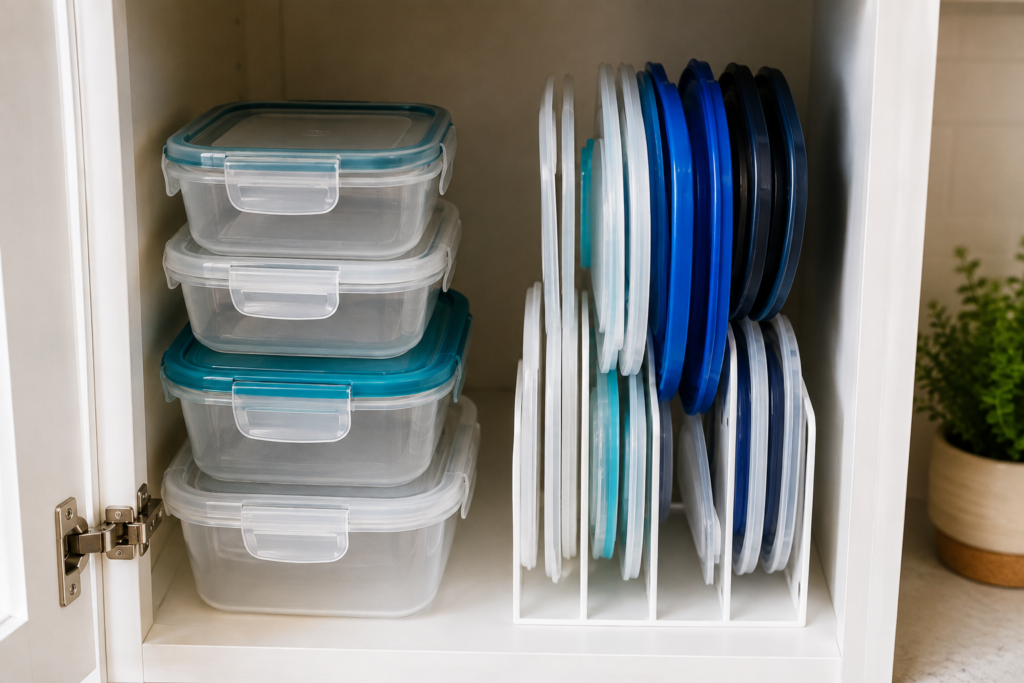
7. Give Food Storage Lids Their Own Organizer
Plastic container lids are much easier to handle when they’re stored vertically instead of thrown into a pile.
Use a lid organizer or adjustable dividers and sort by size.
Keep the matching containers nearby rather than spreading containers and lids across completely different cabinets.
The reference article recommends a dedicated lid organizer to solve the common problem of searching for matching container tops.
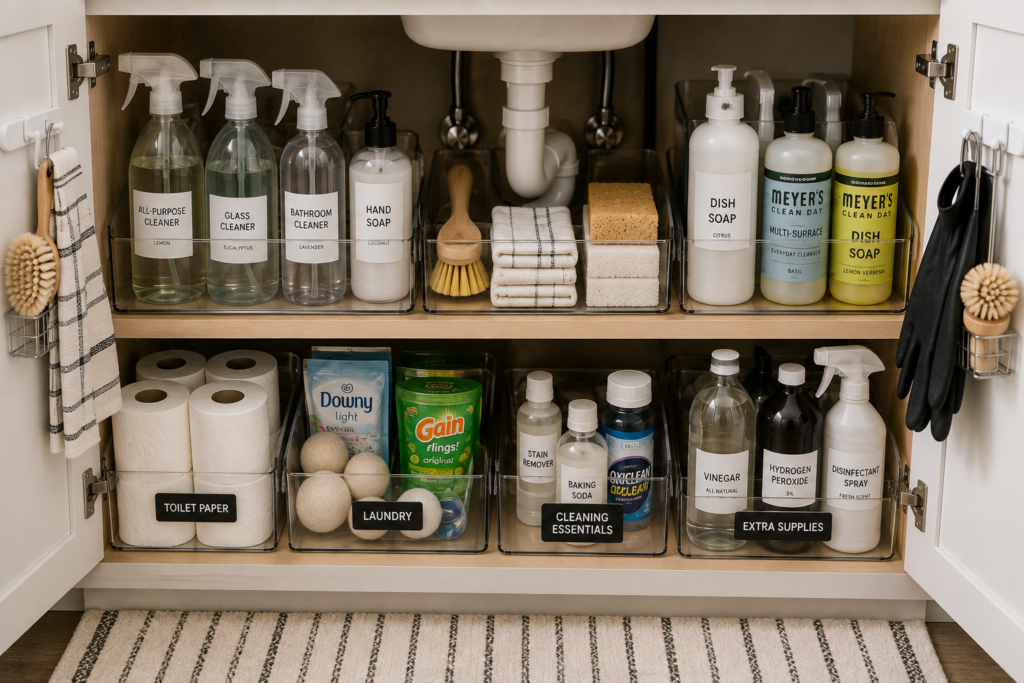
8. Use Bins Under the Kitchen Sink
The under-sink cabinet has awkward plumbing, pipes, and usually more depth than you can easily use.
Instead of treating it like one giant storage box, create several movable zones.
For example:
Bin 1: Dishwashing supplies
Bin 2: Cleaning cloths and sponges
Bin 3: Extra cleaning products
The source likewise recommends plastic bins to contain cleaning products and supplies under the sink.
Avoid placing organizers where they prevent you from checking the plumbing area.
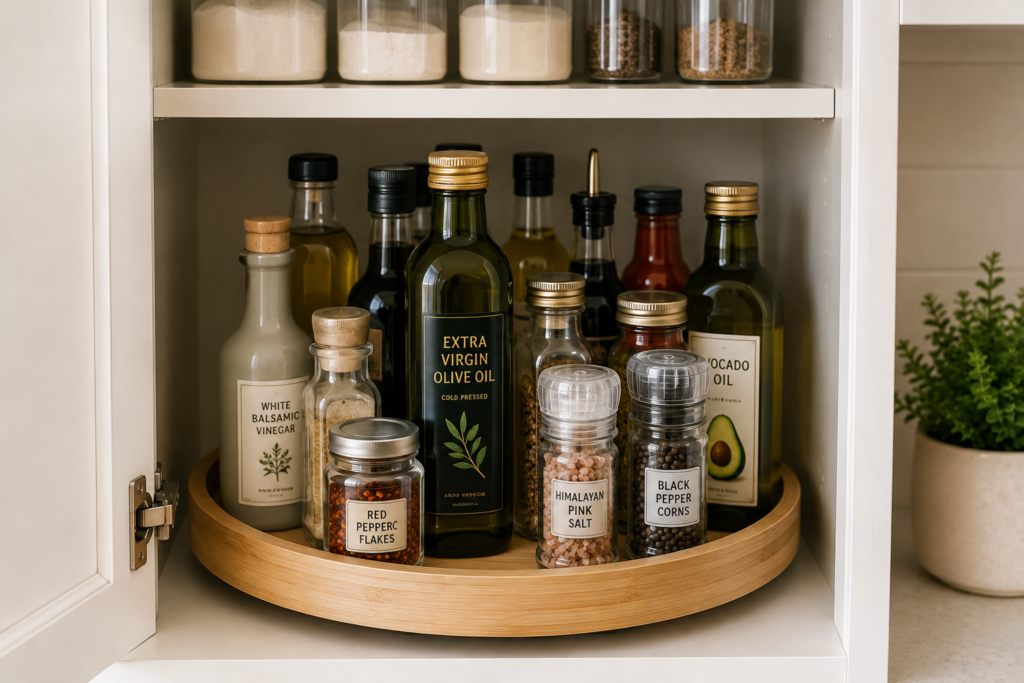
9. Put a Lazy Susan in Deep Cabinets
A turntable is ideal for products that otherwise disappear into the back corners.
Use one for:
- Oils
- Vinegars
- Sauces
- Spices
- Coffee supplies
- Tea
- Small jars
The source recommends Lazy Susans for several cabinet categories because rotating the organizer brings items at the back forward.
Leave enough space between taller bottles so they don’t knock each other over when the tray spins.
10. Label Broad Categories Instead of Everything
Labels are useful when they tell everyone where something belongs.
But you don’t need to label every individual object.
Try broader labels such as:
Snacks
Breakfast
Baking
Kids
Coffee
Backstock
The reference also pairs labeled containers with cabinet organization because labels make categories easier to identify.
Keep categories broad enough that the system can handle changes in what you buy.
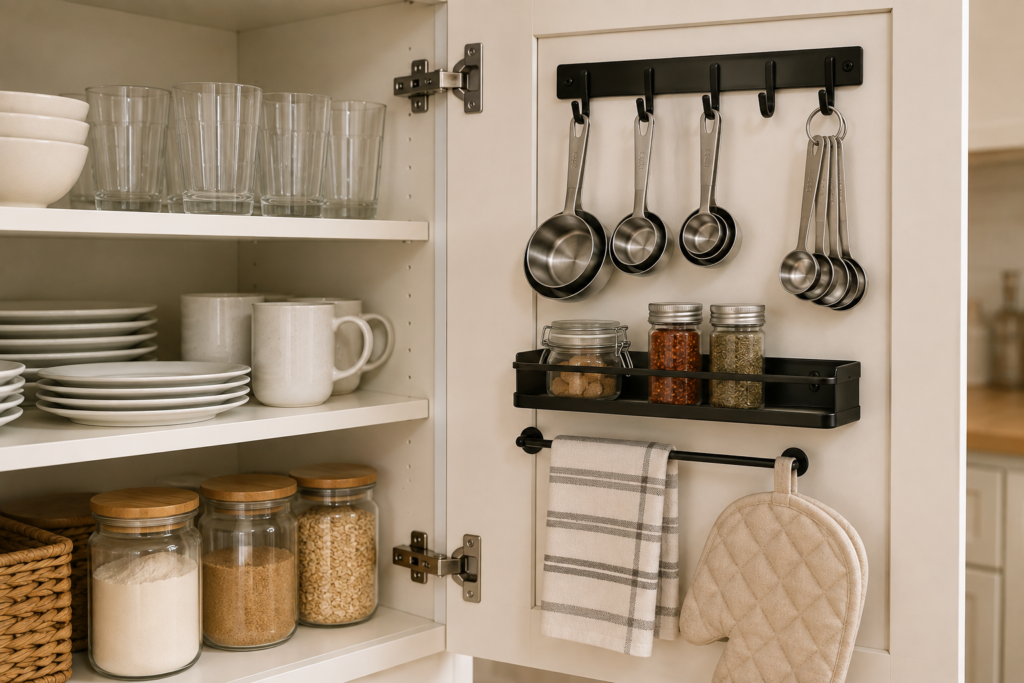
11. Turn the Inside of Cabinet Doors Into Storage
Cabinet doors offer valuable vertical space that is often completely unused.
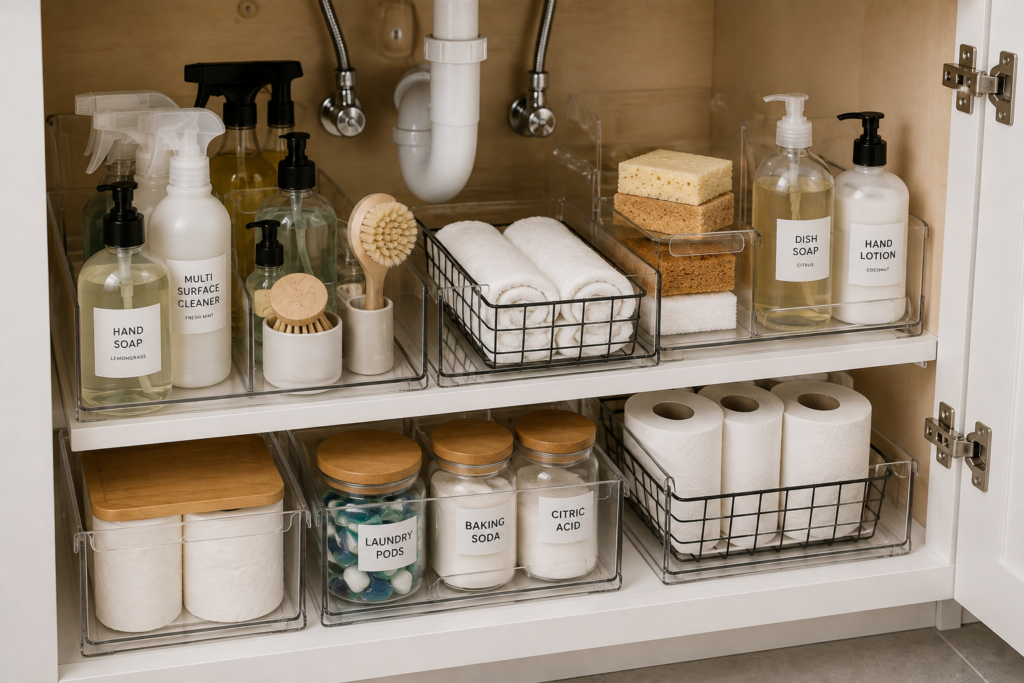
Small hooks can hold lightweight items such as:
- Measuring spoons
- Measuring cups
- Dish towels
- Small utensils
The source specifically suggests using hooks on cabinet doors for measuring tools and other lightweight kitchen essentials.
Before installing anything, close the cabinet carefully and confirm the organizer won’t hit shelves or items inside.
12. Store Water Bottles Horizontally
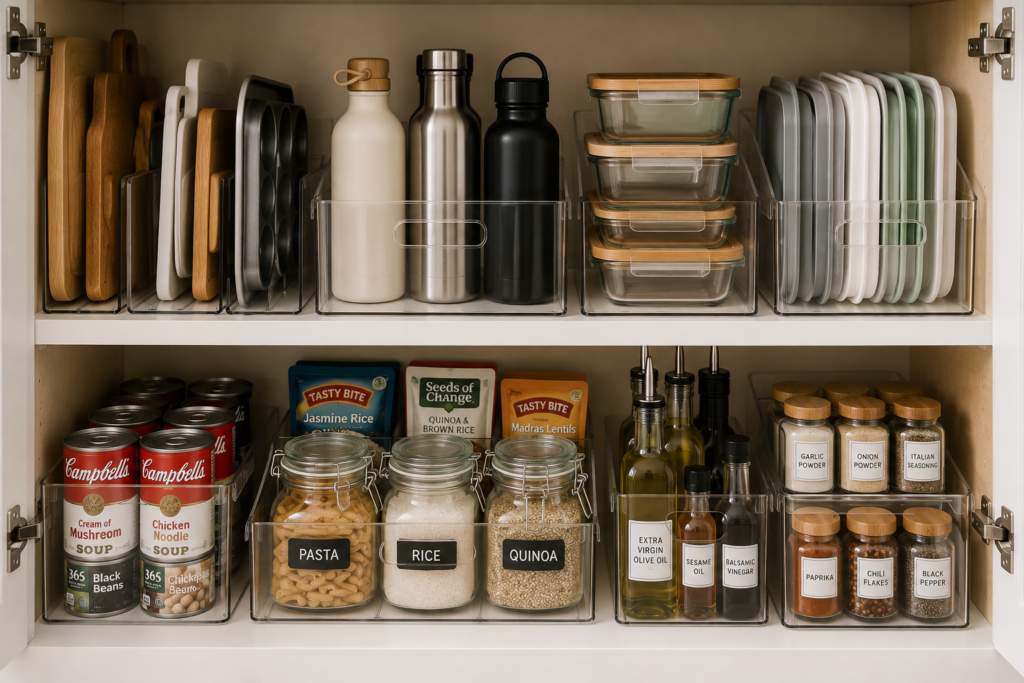
Reusable bottles are awkward because they’re tall, round, and easy to knock over.
A horizontal bottle rack gives each bottle a dedicated position.
The source includes stacked water bottle storage as a way to reduce cabinet clutter and keep bottles accessible.
Try to keep only the bottles your household actually uses regularly. Water bottle storage becomes far easier once duplicates and rarely used promotional bottles are removed.
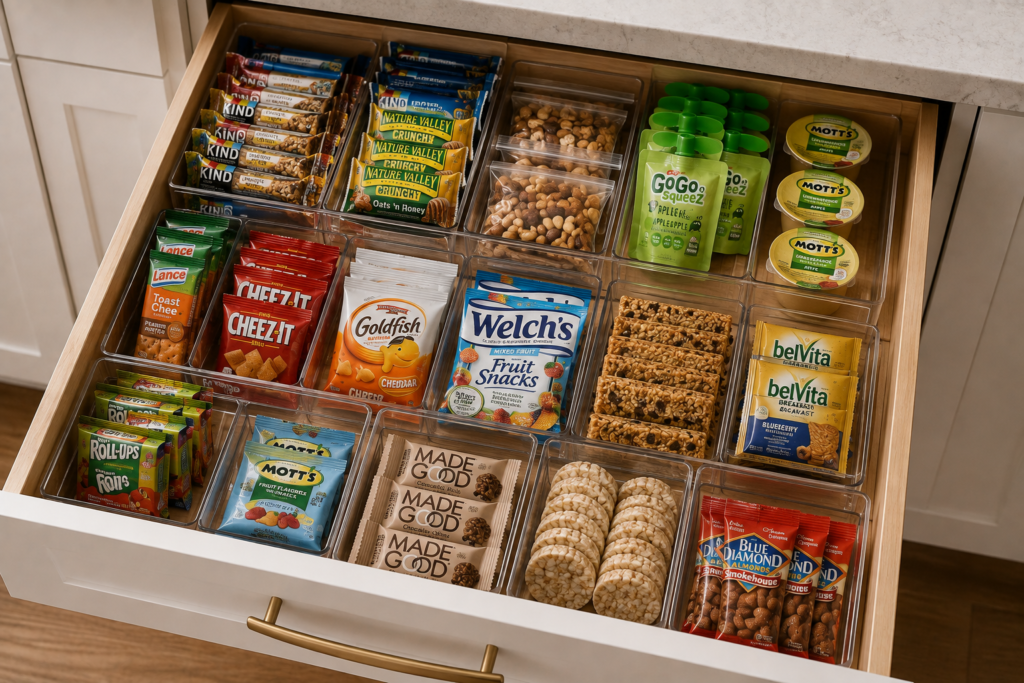
13. Build a Grab-and-Go Snack Drawer
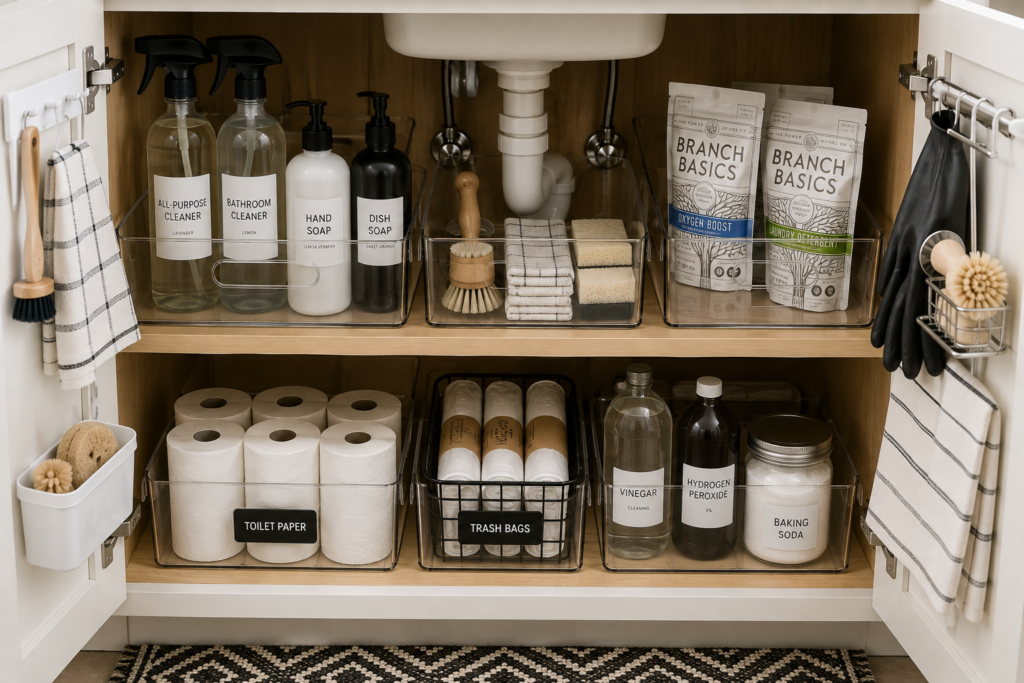
Snack packaging comes in dozens of shapes, which makes an open cabinet look chaotic quickly.
A drawer with dividers can solve that.
Create sections for:
- Granola bars
- Crackers
- Fruit snacks
- Nuts
- School snacks
The original article suggests a snack drawer divided into compartments to prevent loose packages from taking over pantry space.
This works especially well when family members regularly pack lunches.
14. Keep Food Storage Containers Together
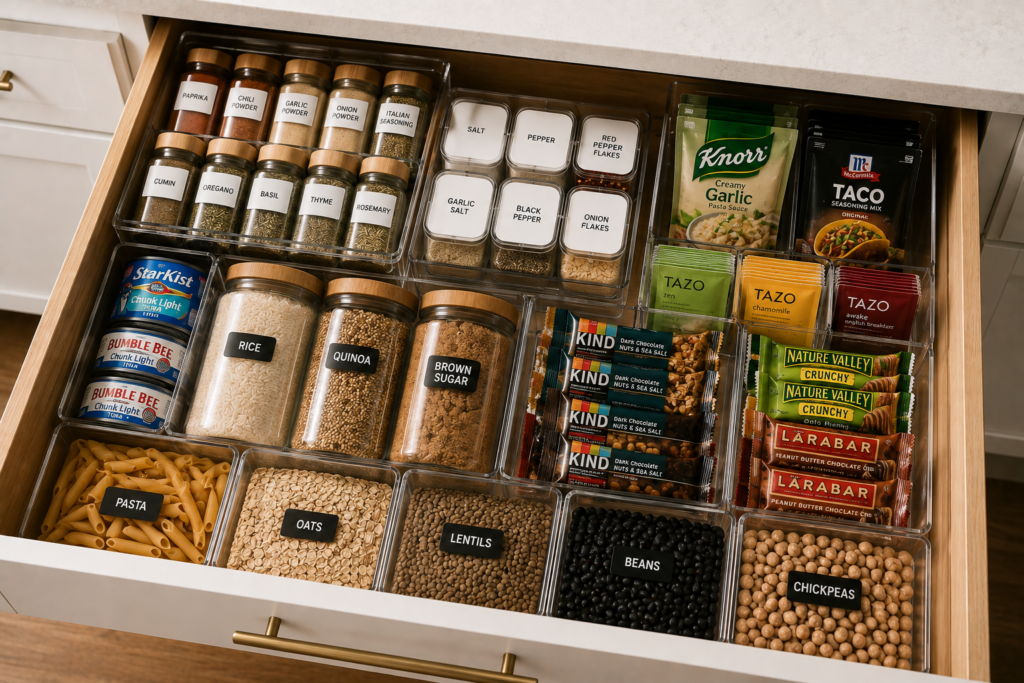
Instead of scattering containers wherever there happens to be room, dedicate one cabinet or drawer to the entire category.
Nest containers by shape and size.
If you frequently struggle to match lids, either keep lids directly with their containers or use the dedicated vertical organizer from Idea #7.
The source also recommends keeping container sets together so the required shape and size can be located quickly.
15. Hide Trash and Recycling Inside a Cabinet
If your kitchen layout allows it, a concealed waste cabinet can reduce floor clutter.
A pull-out system can divide the available space into trash and recycling.
The reference article features a concealed cabinet garbage system with separate bins for different waste categories.
Measure the full pull-out path carefully before installing one, particularly if the cabinet faces an island or narrow walkway.
16. Add Pull-Out Storage to Deep Lower Cabinets
Deep lower cabinets often have plenty of capacity but poor accessibility.
Sliding shelves or pull-out drawers let you bring the contents toward you rather than reaching into the back.
The source specifically recommends roll-out storage for awkward cabinet corners and deep spaces.
Use these areas for heavier items such as mixing bowls, small appliances, pots, or pantry backstock.
17. Hang Mugs Instead of Stacking Them
Mugs can consume an entire cabinet shelf surprisingly quickly.
Hooks mounted beneath a shelf or cabinet can move some mugs out of the stack.
The reference includes both hanging mugs and under-cabinet mug holders as ways to free shelf space.
For the cleanest appearance, display only the mugs you use frequently and keep the rest together inside the cabinet.
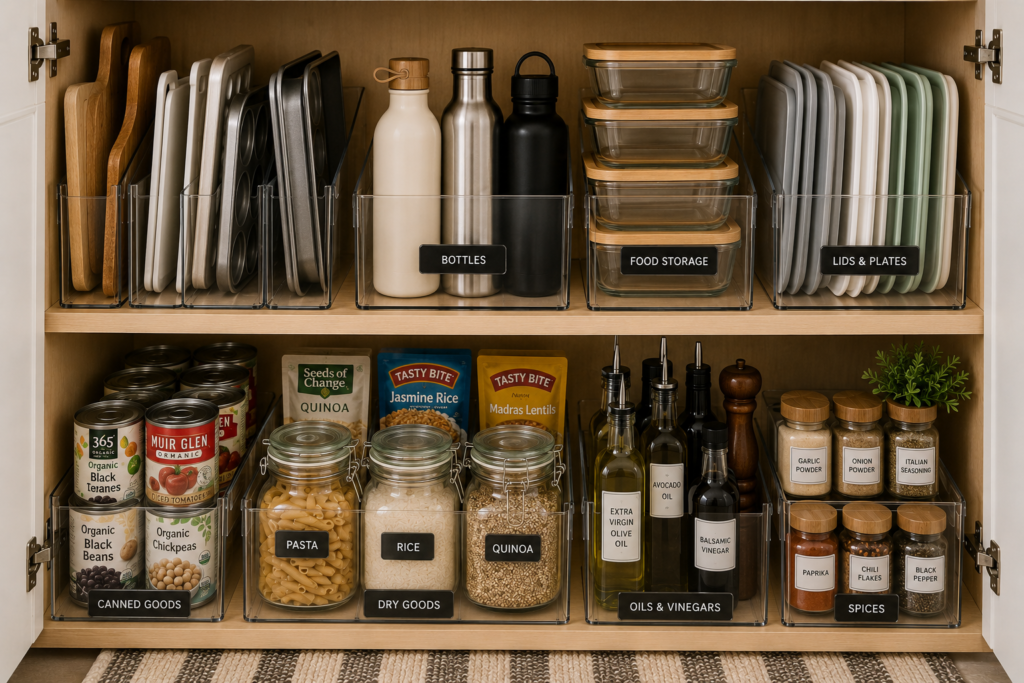
18. Store Baking Sheets Vertically
Cookie sheets, muffin tins, cutting boards, and cooling racks are frustrating when they’re stacked horizontally.
[IMAGE 10 – VERTICAL BAKEWARE STORAGE]
Dividers turn them into easy-to-grab files.
The source recommends cabinet dividers specifically for bakeware such as trays, cake pans, cookie sheets, muffin tins, and pie dishes.
Leave enough width between dividers for your thickest items rather than making every section identical.
19. Add a Narrow Rack to a Cabinet Door
For cabinets deep enough to accommodate it, a shallow door-mounted rack can create another storage surface.
Use it for lightweight, narrow items such as:
- Spice jars
- Small bottles
- Packets
- Wraps
The source features a DIY cabinet-door organizer intended to hold spices, sauces, oils, and vinegar while freeing interior shelf space.
Check hinge clearance carefully before installation.
20. Give Cutting Boards Their Own Slot
Cutting boards work better when they’re stored vertically and easy to pull out individually.
A simple divider rack can keep wood, plastic, and serving boards together.
The inspiration article includes a DIY cutting-board storage solution designed around vertical storage.
Place the rack close to your main food-prep zone if possible so the boards are easy to grab while cooking.
21. Store Serving Dishes Upright
[IMAGE 11 – VERTICAL DISH STORAGE]
Large platters and shallow serving dishes can become cumbersome when stacked.
An upright stand gives each piece its own slot.
The reference recommends dish stands as an alternative to traditional horizontal stacking.
This strategy is best suited to pieces that are stable in the organizer and can be safely supported without sliding.
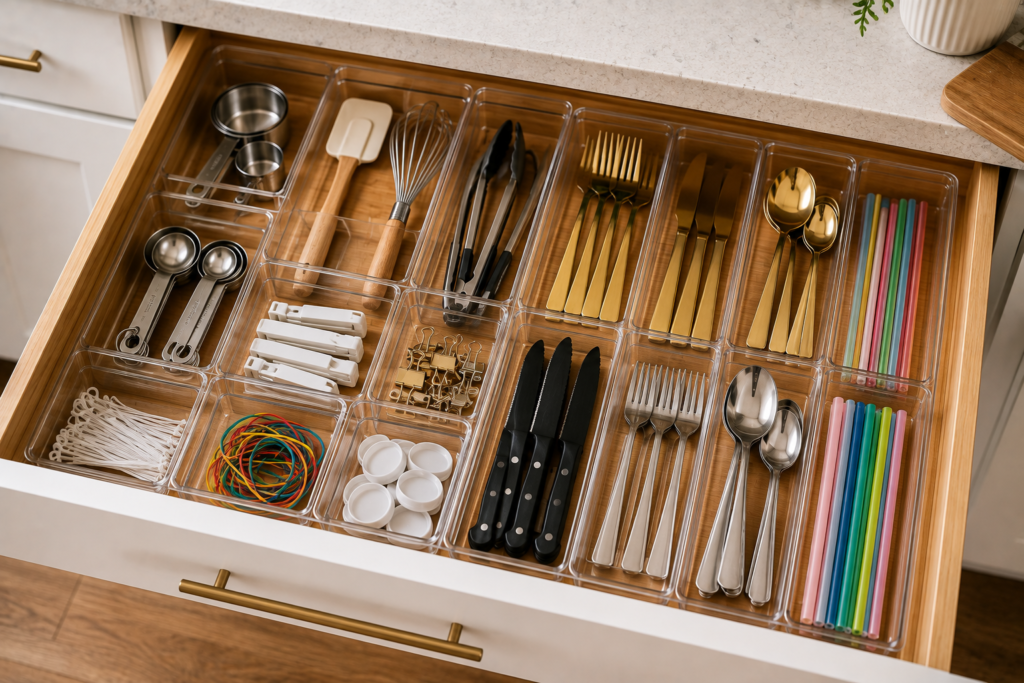
22. Customize Utensil Drawers With Dividers
Standard utensil trays don’t always match the dimensions of your drawers or the utensils you actually own.
Adjustable or DIY dividers let you create custom sections for:
- Spatulas
- Whisks
- Wooden spoons
- Tongs
- Peelers
- Measuring tools
The source includes a DIY drawer organizer using removable dividers that can be configured to suit the drawer.
Organization Tip: Create categories based on function, not utensil color or appearance.
23. Turn Tea Bags Into a Dedicated Drawer
Tea boxes can consume a surprising amount of cabinet space.
Remove individually wrapped tea bags from bulky packaging and arrange them in drawer compartments.
[IMAGE 12 – TEA DRAWER]
You could sort them by:
- Black tea
- Green tea
- Herbal tea
- Decaf
- Seasonal flavors
The reference article also recommends drawer inserts as a way to divide and organize tea bags.
Keep brewing instructions for unusual teas if you need them.
24. Use Vertical Space Before Adding More Cabinets
When a cabinet feels full, look upward before assuming you need more storage.
There may be several inches of unused space between your items and the shelf above.
Shelf risers, stackable bins, undershelf baskets, or a second adjustable shelf can turn that empty height into useful storage.
Vertical stacking is one of the recurring themes in the source article, including a dedicated tip about using shelf risers to maximize cabinet height.
25. Decant Frequently Used Dry Goods Into Jars
[IMAGE 13 – GLASS JARS IN KITCHEN CABINET]
Matching jars can simplify cabinets that hold several opened bags of rice, grains, nuts, pasta, or baking staples.
Transparent containers let you see the contents without pulling everything out.
The source suggests glass jars for dry foods including cereals, spices, pasta, rice, grains, sugar, nuts, and popcorn.
You don’t need to decant everything. Prioritize products you buy repeatedly and use often.
26. Create Zones Around How You Cook
This is one of the biggest differences between a kitchen that merely looks organized and one that actually works.
Instead of organizing only by item type, think about activities.
Create a:
Coffee Zone
Coffee, filters, mugs, sweeteners.
Baking Zone
Flour, sugar, measuring tools, baking powder, extracts.
Breakfast Zone
Cereal, oatmeal, spreads.
Cooking Zone
Oils, seasonings, frequently used sauces.
Several ideas in the source—spice storage, tea drawers, snack zones, clear bins, and grouped containers—support this category-based approach.
27. Leave Some Empty Space
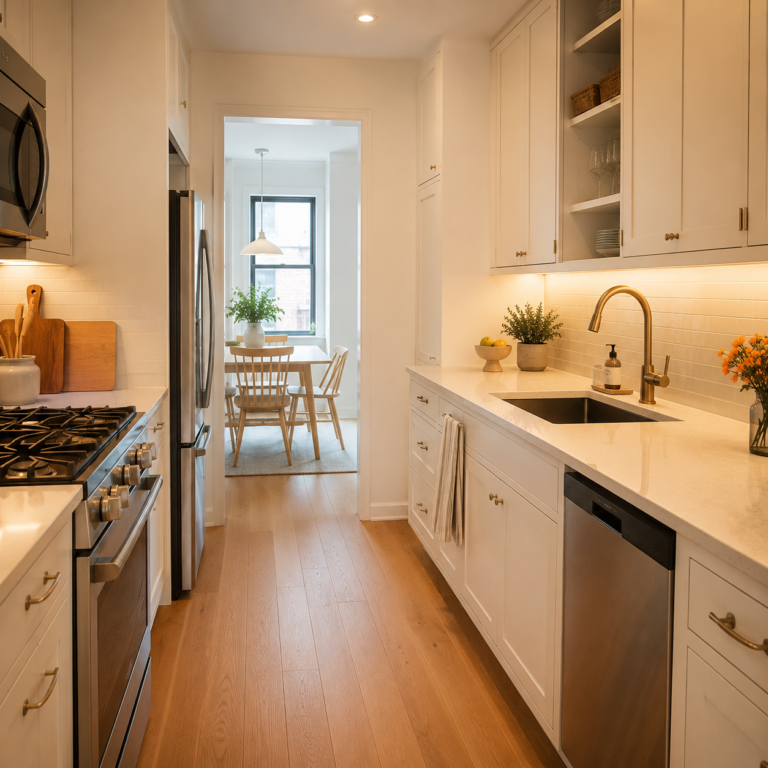
[IMAGE 14 – FINISHED ORGANIZED KITCHEN CABINETS]
The goal isn’t to fit something into every available inch.
An organizer works better when items can be removed and returned easily.
If every shelf is filled edge-to-edge, one grocery trip can destroy the system.
Leave a little breathing room inside frequently used categories.
That extra space gives the kitchen flexibility and makes the organization system much easier to maintain.
A Simple Kitchen Cabinet Organization Plan
If reorganizing the entire kitchen feels overwhelming, tackle it in this order:
Step 1: Food Storage Cabinets
Remove expired or unwanted products and create food categories.
Step 2: Everyday Dishes
Place plates, bowls, glasses, and mugs close to where they’re used.
Step 3: Pots and Pans
Separate cookware and lids.
Step 4: Food Storage Containers
Match containers with lids and remove incomplete sets.
Step 5: Baking Supplies
Group ingredients, pans, and frequently used tools.
Step 6: Under the Sink
Contain cleaning products in washable bins.
Step 7: Drawers
Add dividers only after you’ve decided what belongs in each drawer.
You do not need to finish everything in one day.
One properly organized cabinet is more useful than an entire kitchen filled with hastily purchased organizers.
Common Kitchen Cabinet Organization Mistakes
Buying Organizers Before Measuring
Even a useful product becomes clutter if it doesn’t fit properly.
Measure first.
Using Too Many Tiny Containers
Small organizers create more categories to maintain.
Use the largest practical category that still keeps items easy to find.
Decanting Everything
Matching containers look beautiful, but transferring every grocery item creates extra work.
Decant selectively.
Ignoring Door Clearance
Cabinet-door organizers and tall bins need room to close.
Test the complete motion before permanently mounting anything.
Keeping Too Much Backstock
Buying multiples can save shopping trips, but excess inventory consumes cabinet space quickly.
Keep a realistic amount for your household.
Organizing Items Where They Fit Instead of Where They’re Used
The most attractive cabinet layout won’t feel efficient if everyday items are stored far from where you need them.
How to Keep Kitchen Cabinets Organized
A good cabinet system shouldn’t require a complete weekly makeover.
Use a simple maintenance routine:
- Return items to their categories.
- Consolidate duplicate packages.
- Remove empty containers.
- Check food before adding more backstock.
- Wipe shelves when a category becomes empty.
- Reassess organizers that aren’t working.
- Leave some open storage capacity.
Do a quick cabinet reset before large grocery trips. You’ll know what you already have and where new items need to go.
Frequently Asked Questions
What is the best way to organize kitchen cabinets?
Start by grouping items according to how they’re used, then give each category a dedicated cabinet, shelf, drawer, or container. Use shelf risers for unused vertical space, bins for loose packages, pull-outs for deep cabinets, and dividers for items that are difficult to stack.
How can I organize kitchen cabinets without spending much money?
Declutter and rearrange what you already own before buying organizers. Repurpose sturdy containers, use simple hooks where appropriate, group similar products, and add only the organizers that solve a specific problem.
How do I organize deep kitchen cabinets?
Deep cabinets work best when the contents can move toward you. Pull-out shelves, baskets, bins, and turntables help prevent items from disappearing at the back.
How can I organize small kitchen cabinets?
Use vertical space first. Shelf risers, cabinet-door storage, vertical dividers, hooks, stackable containers, and carefully selected bins can add useful storage without expanding the cabinet itself.
What should go in upper kitchen cabinets?
Upper cabinets generally work well for lighter everyday items such as dishes, glasses, mugs, food, spices, and baking ingredients. Put the products you reach for most often on the easiest shelves.
How should I organize pots and pans?
Use a dedicated rack or vertical divider when possible. Store heavy cookware low, keep regularly used pans accessible, and separate lids so you don’t need to lift an entire stack every time you cook.
Are clear containers better for kitchen organization?
Clear containers are especially useful when visibility matters because you can identify contents quickly. Opaque baskets can be better for categories that create visual clutter. Many kitchens benefit from using both.